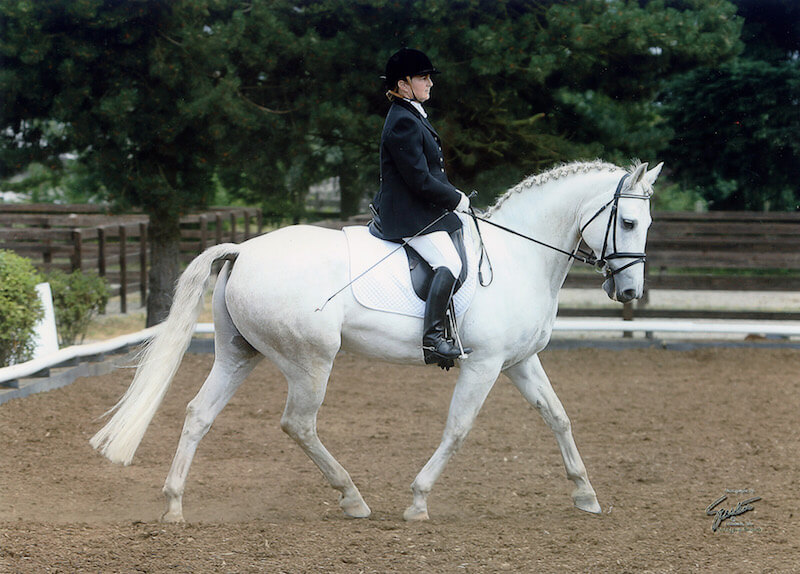
Understanding the Connecting Aids
by Jane Savoie

Most riders understand that there’s a specific set of aids for every movement and exercise you do with your horse. For example, you have one set of aids for a canter depart and a different set of aids to ask for a leg yield. By the same token, you have a set of aids to put your horse on the bit. I like to call them the “connecting aids” because they connect your horse from back to front.
There are 3 sets of aids that make up the connecting aids. You’ll marry those 3 sets of aids for about 3 seconds–the length of time it takes you to inhale and exhale. The aids are: (1) Close your calves on the horse to generate power from behind. (2) Close your outside hand in a fist to capture, contain, and recycle that power back to the hind legs. (3) Squeeze and release (vibrate) the inside rein—like squeezing water out of a sponge—to counter your closed outside hand so you can keep your horse’s neck straight.
To an observer, it will appear that you’re giving the aids simultaneously, but the legs slightly precede the closing of the outside hand, which is applied just before the vibrations with the inside hand. I like to teach the connecting aids in three stages which are:

1. Go on a circle in rising trot and close both legs to ask for a lengthening. Your horse should surge forward into the bigger trot. If he doesn’t, make a correction by tapping with the whip or bumping with your legs to really send him forward.Then here’s the really important part. Go back to working trot and RETEST with your light aids. If you get an immediate surge from behind, praise generously. If not, repeat the correction and the retest until you get a “hot off the leg” reaction from the light closure of your legs. This stage is vital because every set of connecting aids should have the surge from behind that you’d have in a lengthening or medium gait.
2. The second stage is to teach your horse that he can go forward through a closed outside hand. So ask for the lengthening as you did in Stage 1. Get two or three strides of the lengthening before adding your closed outside hand and vibrating inside rein. Make sure your horse doesn’t reduce his power when you close your outside hand. Stay in the lengthening until you see the outside of his neck get longer and lower. Once it gets longer and lower, praise your horse and go back to working trot.
3. Give a “finished product” set of connecting aids. Close both legs, close your outside hand in a fist. Vibrate the inside rein. If you’re horse doesn’t come on the bit, go back to either stage 1 or 2 and rebuild from there.
A Helpful Exercise
Here’s a great exercise called “breathing the legs” that you can use to freshen your horse’s walk. Try this exercise at home first. You might be surprised by the reaction you get. So you don’t want to do it for the first time at a horse show. First take your legs off your horse’s sides. Move them back an inch or two, then place them back on his sides lightly. You can use it in either free walk or medium walk. You should feel a surge of power from behind.
Jane Savoie is one of the most recognized names in dressage. Her accomplishments and the breadth of her influence are impressive. She has been a member of the United States Equestrian Team and has competed for the US in Canada, Holland, Belgium, France and Germany. She was the reserve rider for the Bronze medal winning Olympic dressage team in Barcelona, Spain. She has been long-listed by the USET with several horses and has won nine Horse of the Year awards and three National Freestyle Championships. Jane has written five books and produced several DVDs on dressage. For more information visit www.janesavoie.com
Published August 2012 Issue

The Colorado Horse Source is an independently owned and operated print and online magazine for horse owners and enthusiasts of all breeds and disciplines in Colorado and surrounding area. Our contemporary editorial columns are predominantly written by experts in the region, covering the care, training, keeping and enjoyment of horses, with an eye to the specific concerns in our region.

